

Getting Started with Tatum in Postman

Written by
Ted Bloquet
November 18, 2025
5
min. read
.jpg)
If you’re new to blockchain development or just want an easy way to test Tatum’s API, Postman is one of the best tools to start with.
In a few minutes, you’ll go from zero to sending your first blockchain request without writing a single line of code.
Tatum is a verified Postman publisher, which means all collections in our workspace are official, always up to date, and ready to use.
When the workspace loads, you’ll immediately see a welcome section at the top.
This introduction gives you a quick overview of what’s included:
- A unified set of endpoints for more than 60 blockchains
- All RPC methods for each supported chain
- REST API collections (Data API, Staking, Notifications, Wallets, and more)
- A clean folder structure for every blockchain
- Preloaded methods that you can run instantly without setup

To start using any Tatum Postman collection, you’ll need to connect Postman to your Tatum account.
Go to the Tatum Dashboard and generate your API key.
Once you have it, open the Tatum Gateway environment in Postman and paste your key into the gateway-api-key variable (top right corner of the Postman interface).
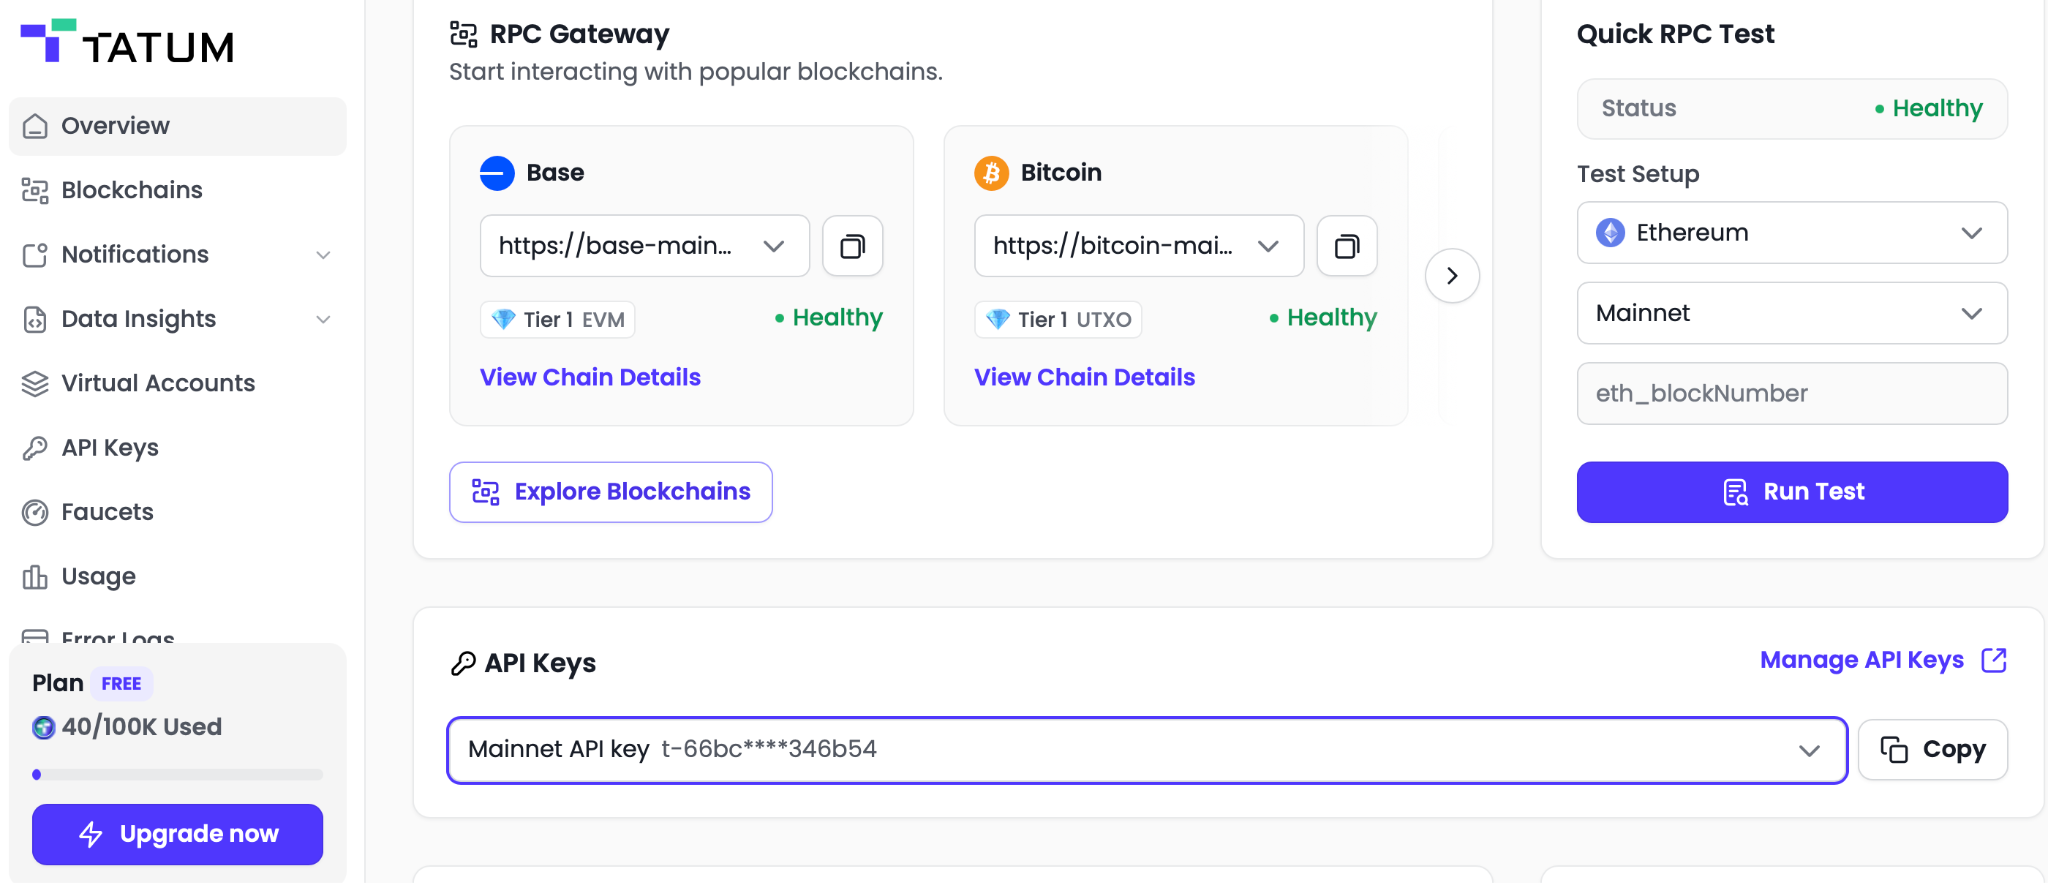
This key authenticates every RPC request across all supported blockchains.
You can run every collection and method even without generating a key.
If you leave the default value “YOUR_API_KEY”, Postman will still work, you’ll just be limited to 5 requests per minute.
If you register in the Tatum Dashboard and use your own API key, your limit increases automatically to 3 requests per second, which is much more comfortable when exploring or testing multiple chains.
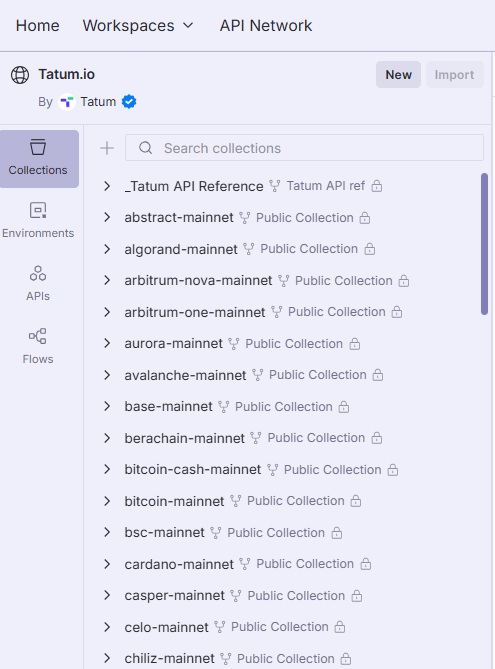
Each folder inside the workspace represents one chain, and the folder name is used to build the gateway URL automatically.
For example:
A collection called base-mainnet will send requests to https://base-mainnet.gateway.tatum.io
This happens instantly without needing any manual configuration, Postman reads the folder name and fills the environment variable {{chain}} for you.
Only the mainnet folders are included by default.
If you want to work on a testnet, simply rename the folder inside your own fork.
For example:
Rename base-mainnet → base-testnet
and Postman will automatically route to https://base-testnet.gateway.tatum.io

To view every available network, both mainnet and testnet, check the chain directory:
👉 https://dashboard.tatum.io/chains
In Postman, you’ll notice an environment in the top right corner named Tatum Gateway.
A. Select the environment
B. Click on the 3 dots next to Tatum Gateway and Fork it
C. Then edit variables and Paste your API key into gateway-api-key
This lets all RPC and REST calls authenticate automatically.

On the left sidebar, expand the collections.
Each folder name represents a chain.
Examples:
The folder name also defines the URL used to connect.
Let’s pick Ethereum as an example.
A. Click ethereum-mainnet
B. Open the JSON RPC folder
C. Select any method
D. Click Send
Et voila.
For example:
eth_blockNumber
This returns the latest block on Ethereum.
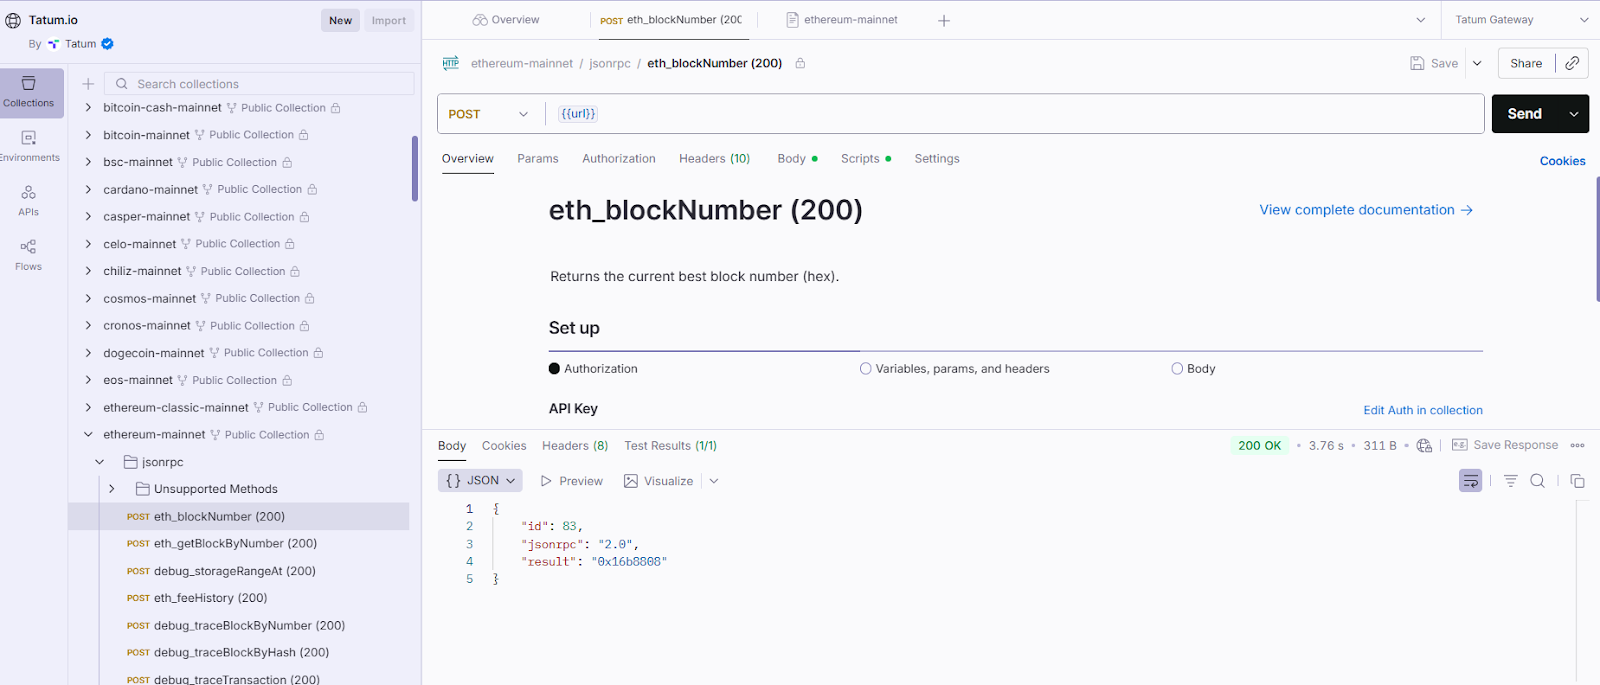
Inside every request you will see:
- Preloaded default parameters
- Headers already configured
- Your API key applied automatically
You can check everything under Params, Headers, and Body.
Every chain includes all the RPC methods you expect:
- Blocks
- Transactions
- Gas price
- Smart contract calls
- Account info
- Tracing and debugging
All ready to use with one click.

For EVM based chains, you can also explore the Beacon API folder.
Once your key is added and your environment is set, you’re fully equipped to start exploring Tatum across any blockchain you choose. Postman becomes your playground, whether you want to fetch the latest block, inspect transactions, try out the Data API, or experiment with staking, wallets, and smart contract calls.
Everything is prebuilt, structured, and ready for you to hit Send and see real blockchain responses instantly.
Take your time, try different chains, compare methods, and get comfortable with how everything works. And remember, every collection in this workspace stays maintained and up to date, so you’re always building on reliable tools.
if you want to stay ahead of what’s new, don’t forget to check our updates, this is where we announce newly added collections, fresh RPC methods, new chains, and everything happening across Tatum.
If it's still not quite clear with the step by step above, perhaps a video would help you out!
Watch Shiv taking yo through Tatum in Postman.
%20(84).jpg)
%20(83).jpg)
%20(82).jpg)